Phone Profiles Polycom IP 650
1. Log into your Admin CommPortal at www.grid4.com/adminportal/
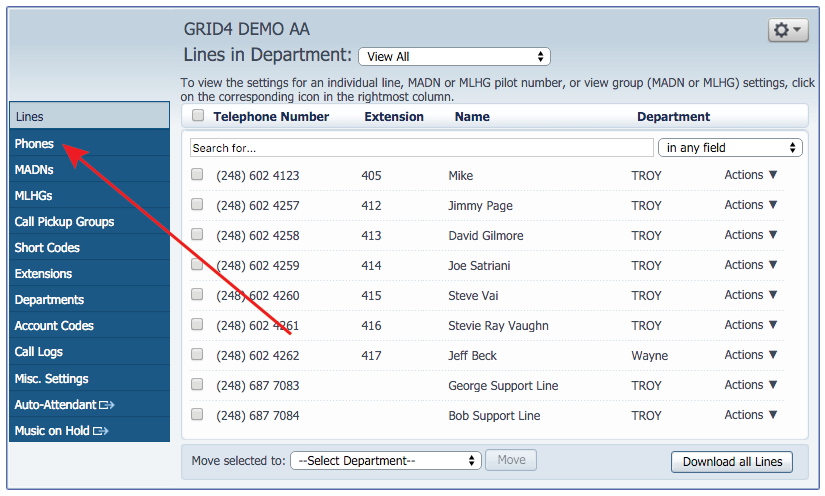
2. The Lines tab is the landing page of Admin CommPortal.
3. Click down to Phones in the left hand column.

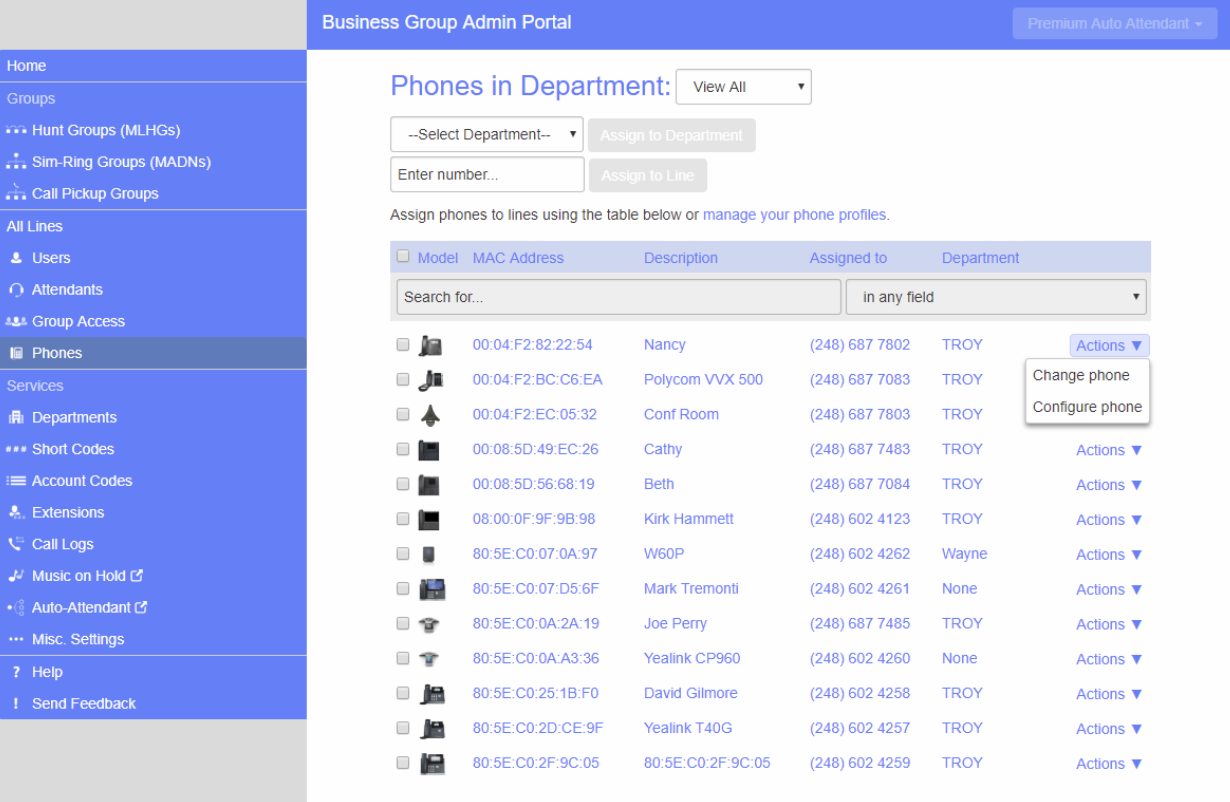
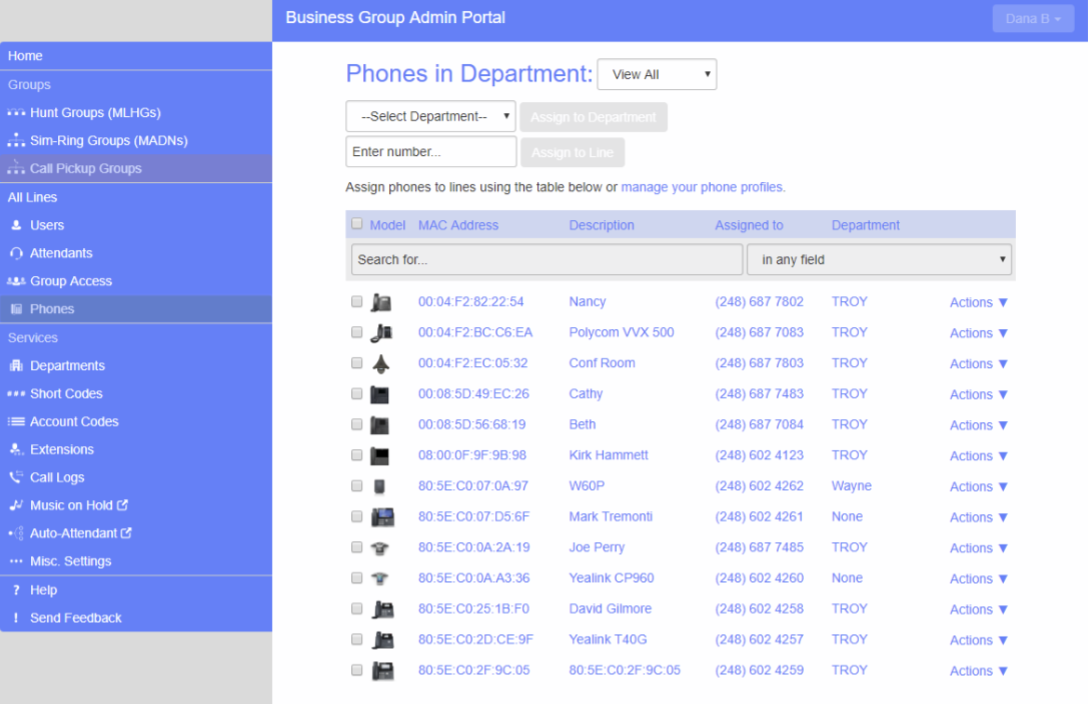
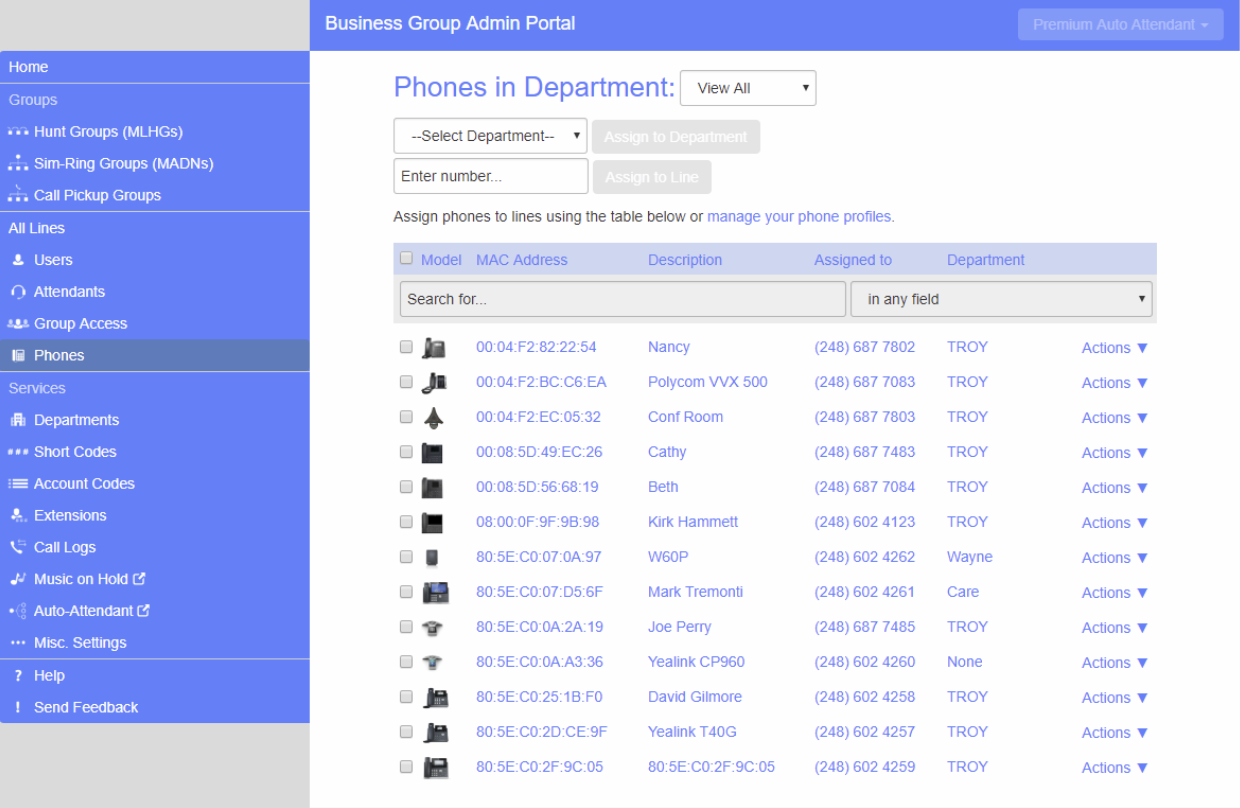
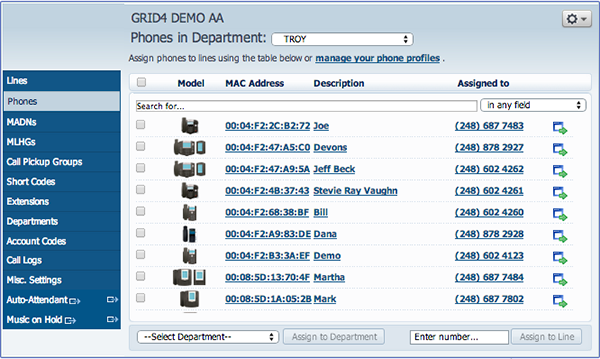
The following is the Phones homepage:

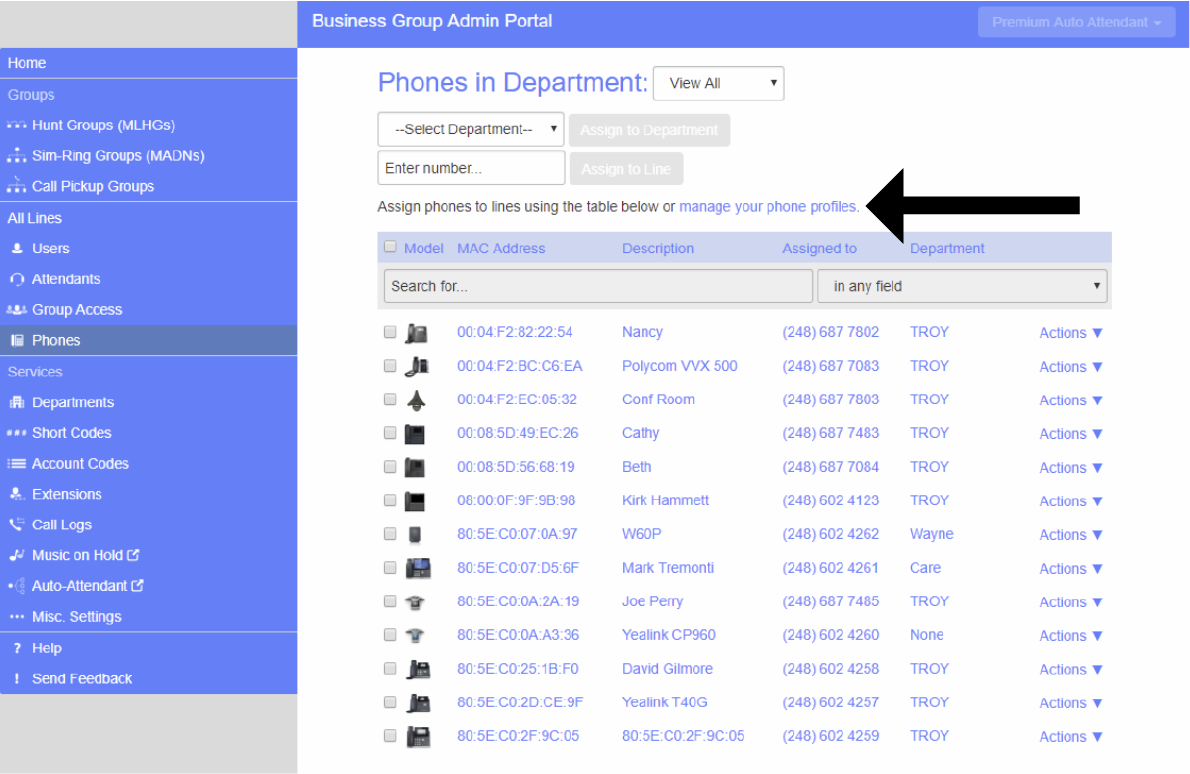
To manage the phone profiles for the department you are an administrator for, follow these steps:
1. Click the manage your phone profiles link towards the top of the page (arrow below points to manage your phone profiles link).

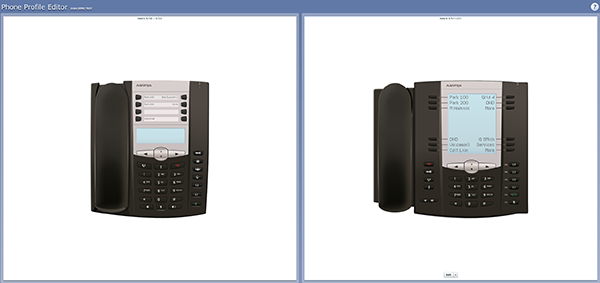
2. This launches a new window with the Phone Profile Editor.
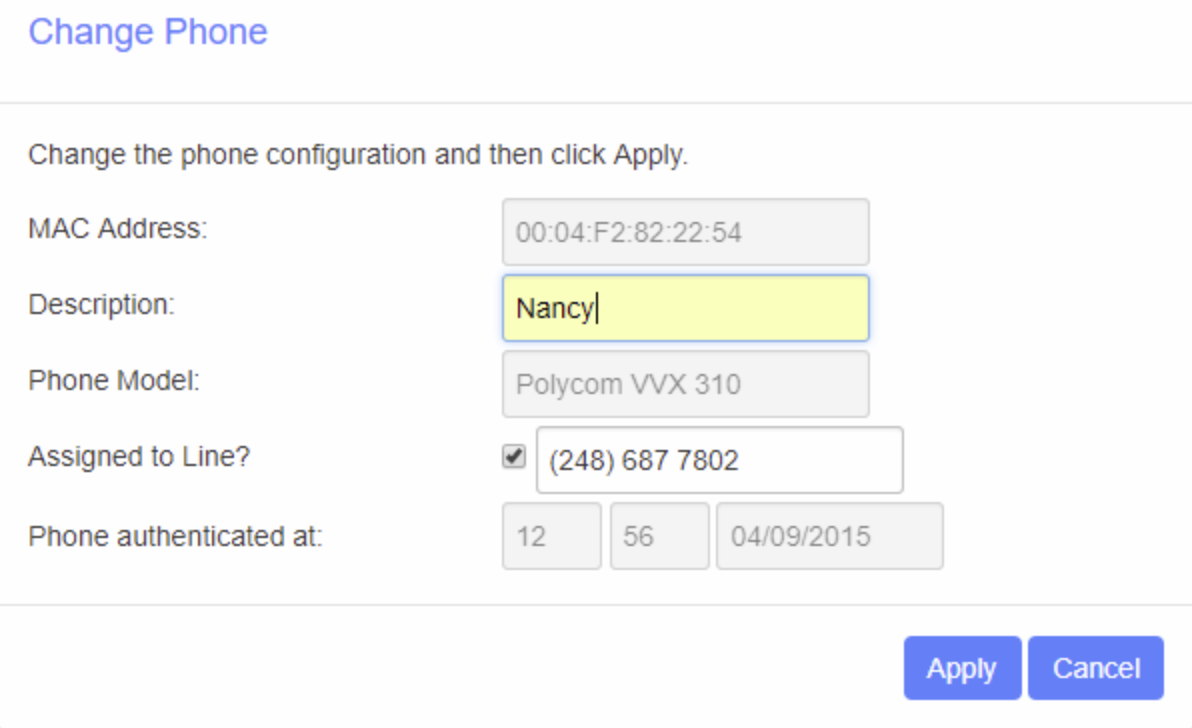
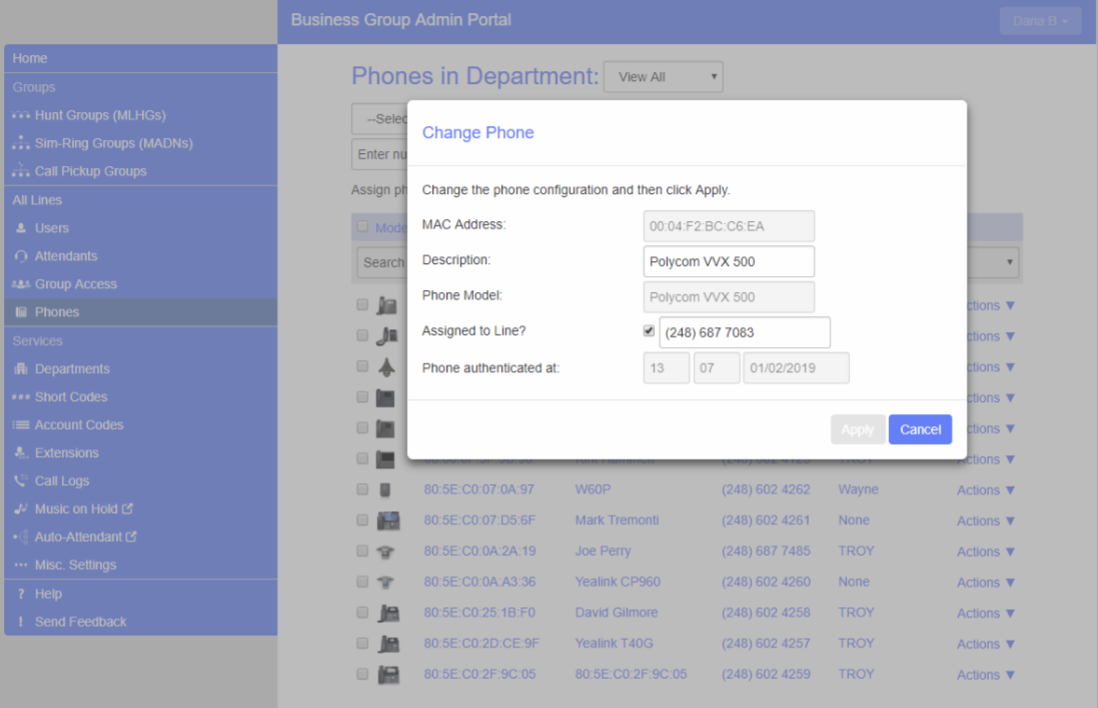
To modify a phone profile, follow these steps:
1. Place your mouse over the picture of the phone whose profile you want to modify (in this case the Polycom 335).
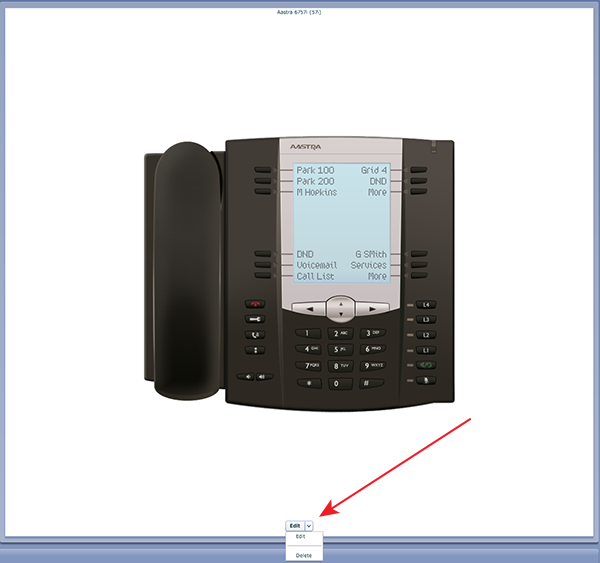
2. Select Edit from the drop-down list that appears.
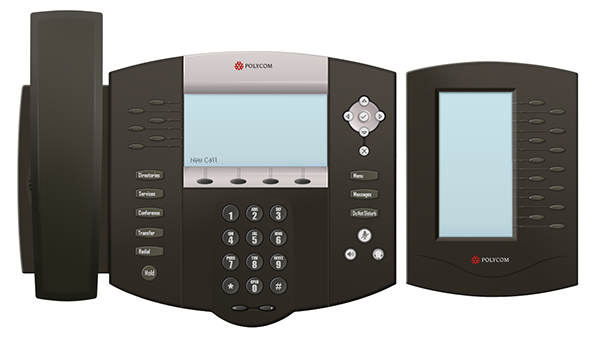
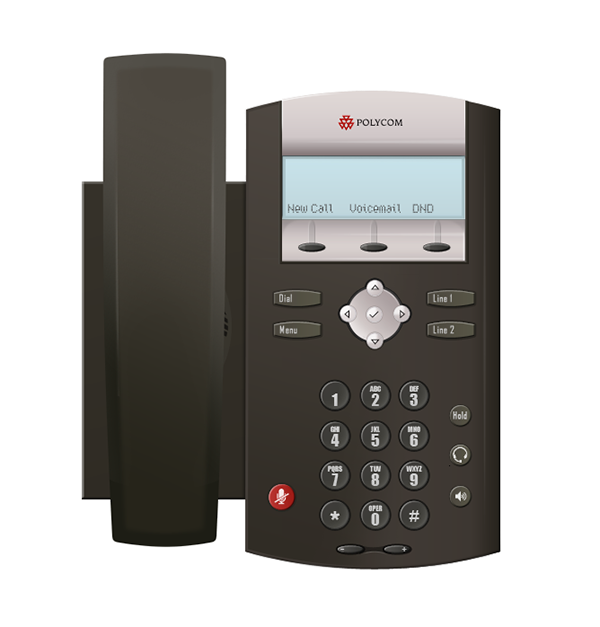
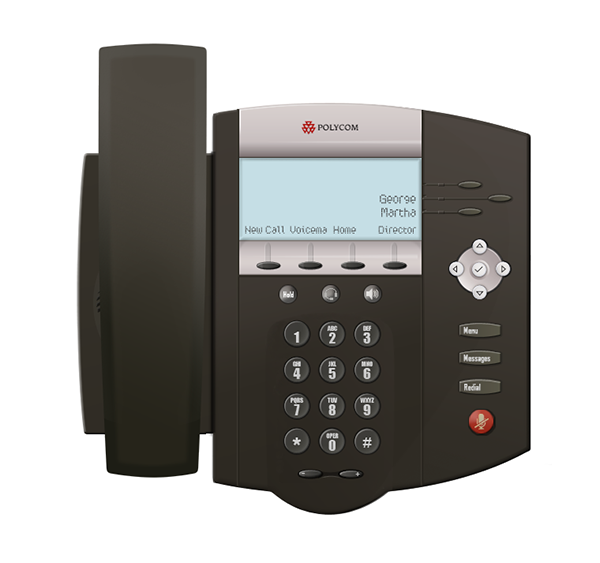
Graphical View Polycom IP 650
To configure a phone key, follow these steps:
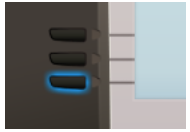
1. To see if a key can be configured place your mouse pointer over it.
• If the key glows blue it can be configured.
• If it glows red it cannot be configured.

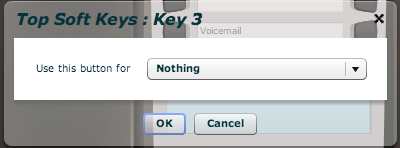
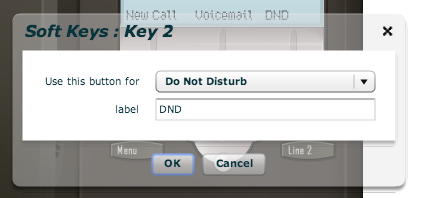
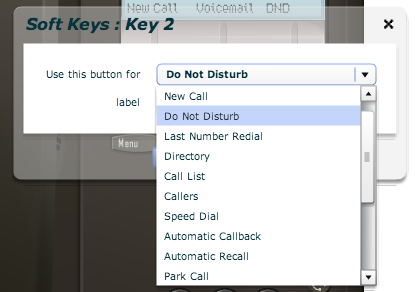
2. To select a key to be configured, click on it. This will launch a pop-up allowing you to configure the key:

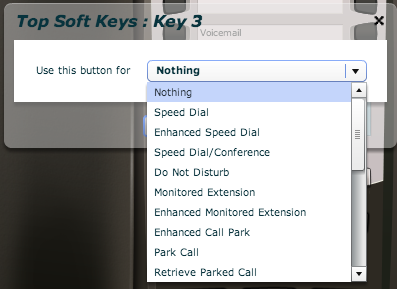
3. From the drop-down list select a function for this key.

4. Select a label for this key. The possible options are as follows (although not all these options may be enabled on your phone system):
• Nothing- This is used when a key is not assigned a function.
• Line- This key is used for a phone line. When programmed, pressing this key will cause the phone to go off-hook and ask you for digits to dial. When calls come into that phone line, this key can be used to answer those calls.
• Speed Dial – this configures the key as a speed dial.
• Do Not Disturb – configures the key as a Do Not Disturb key
• Enhanced Monitored Extension – allows you to monitor another line. Enter the number of the extension you want to monitor in the box provided.
• Enhanced Park Call – this is used to park calls in a universal on-hold
• Call List – this configured the key to show you recent calls.
• Directory – this configures the key to provide you with the phone’s list of contacts.
• Voicemail – this configures the key as a speed dial to access your Voicemail.
• Line Identity – this configures the key as a speed dial to call the Line Identify service, which reads back your phone number.
• Directed Pickup – this configures the key as a speed dial to pickup calls ringing on a particular line. Enter the number of the extension you want to pick up calls for in the box provided.
• Paging Group. Select a paging group from the drop down menu.
Whichever option you chose for your key you may enter a label for the key. If your phone has a display next to the key you configured this label will be shown on the phone display. Once you have finished configuring your key click on OK. The picture of the phone will be updated with the label you gave your new key assignment.
• **Depending on your phone model and the level of the phone service you have subscribed to these features may not all be available to you.**
5. Click on OK.

6. This change has now been temporarily stored to this phone profile. To permanently save a change click on Save changes on the bottom right.
Note that changes will not be applied to the actual phones themselves until they are rebooted. The phones reboot themselves overnight or you may reboot them by unplugging the LAN port on the back of the phone.
Abandon any changes you have made in this session or since you last saved by clicking on Discard Changes.
Print Button
The 6757i phone model has a digital display that will show any changes you make in the CommPortal. When making changes to the 6731i phone model, you must use the paper insert to label your phone keys. To print your keys from the CommPortal, follow the steps below:
1. Click the Print Button
2. Select to print the insert for the top keys only.

3. Press OK. Your insert will print your programmed keys. Insert this into the phone display.
Close your browser window to log out of the Phone Profiles management.