MLHG Overview

MLHG Overview

To access MLHGs:

  1. Log into your Admin CommPortal at www.grid4.com/adminportal/
  2. Click Hunt Groups (MLHGs) in the column on the left hand side or the orange circle under Groups.

The MLHGs homepage displays all of the MLHGs in the Business Group.

To view the details of an MLHG and to modify its settings you first need to select that MLHG. Do this by checking the box next to the Hunt Group name. This takes you to a series of tabs for that MLHG.

Click here to access information about additional settings for MLHGs.

MLHG Pilots

MLHG Pilots

To access the MLHG Pilots:

  1. Log into your Admin CommPortal at www.grid4.com/adminportal/
  2. Click “Groups (MLHGs)” in the left hand column or the orange circle under “Groups”.

  1. Click on the name of the Group.  The MLHG Pilot tab displays the pilot number for this MLHG. When called, the pilot number rings the MLHG members according to your MLHG settings.

MLHG Lines

MLHG Lines

To access the MLHG Lines:

  1. Log into your Admin CommPortal at www.grid4.com/adminportal/
  2. Click Hunt Groups (MLHGs) in the left hand column or the orange circle under “Groups”.

The MLHG Pilots tab is the default page.  To view the Pilot Number and members of the MLHG click on the Hunt Group name.  Click on the Pilot number to view the its settings. There is an icon for each line which tells you whether each member is currently logged into this MLHG.

To view the members and their log in / out status click on “Hunt Group Members”.

Adding Lines

To add lines to the MLHG, perform one of the following two steps:

  1. If you know the number, enter it in the text box “Add single and click Add. If you don’t know the number, click on Add Lines.
  2. To select one or more lines to add, use the checkboxes to the left of the lines and click Add Selected.

Removing Lines

To remove a line from the MLHG, follow these steps:

  1. Select the line to remove by using the checkbox to the left of it.
  2. Click on the Remove Selected button.

Changing Positions

In a MLHG, the first phone listed rings first. To change the positions of lines within the MLHG, follow these steps:

  1. Click on the Change Positions button.
  2. Move lines up and down using the icons.
  3. Click on Apply.

MLHG Settings

MLHG Settings

To access MLHG Settings:

  1. Log into your Admin CommPortal at www.grid4.com/adminportal/
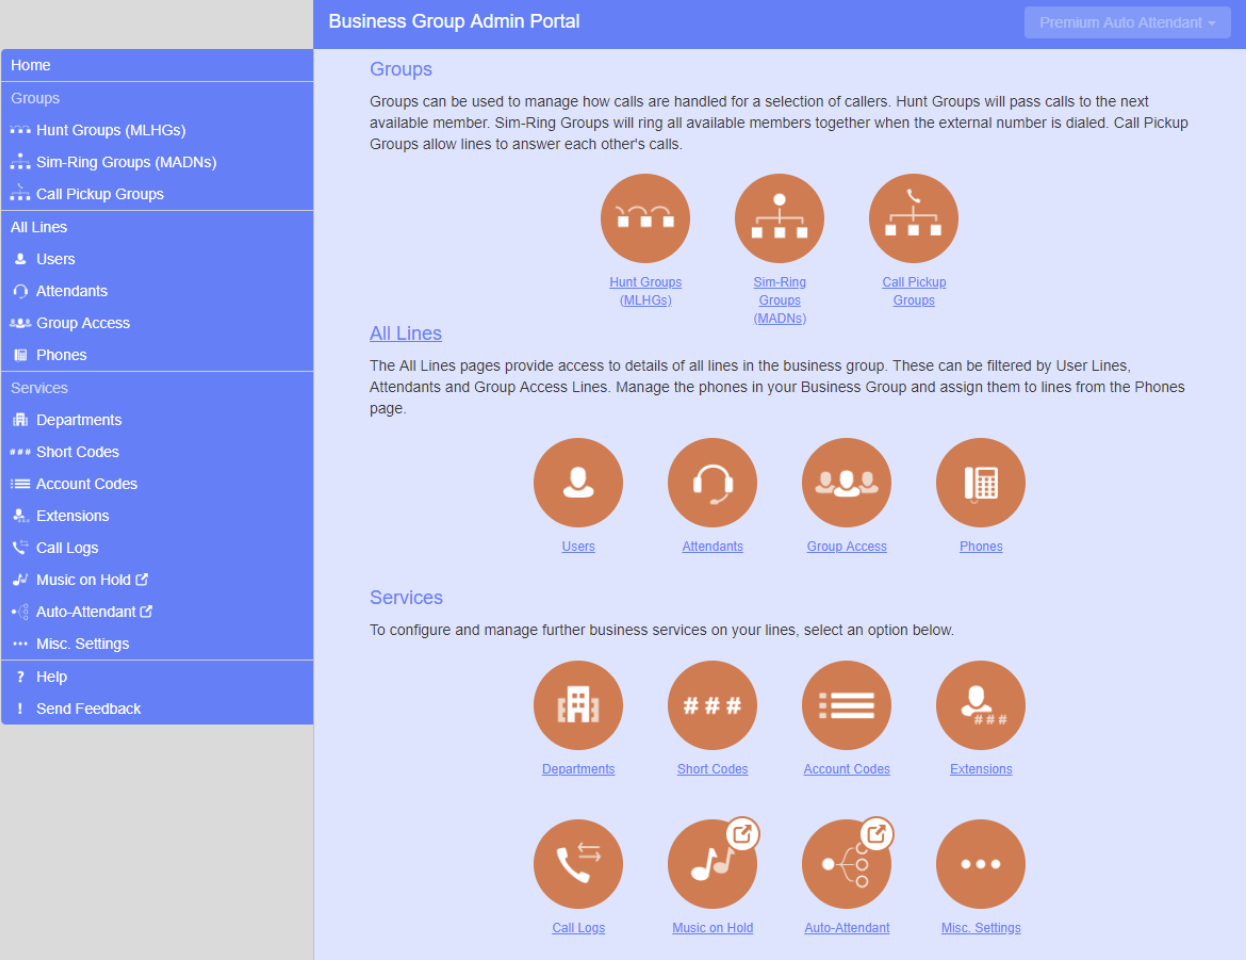
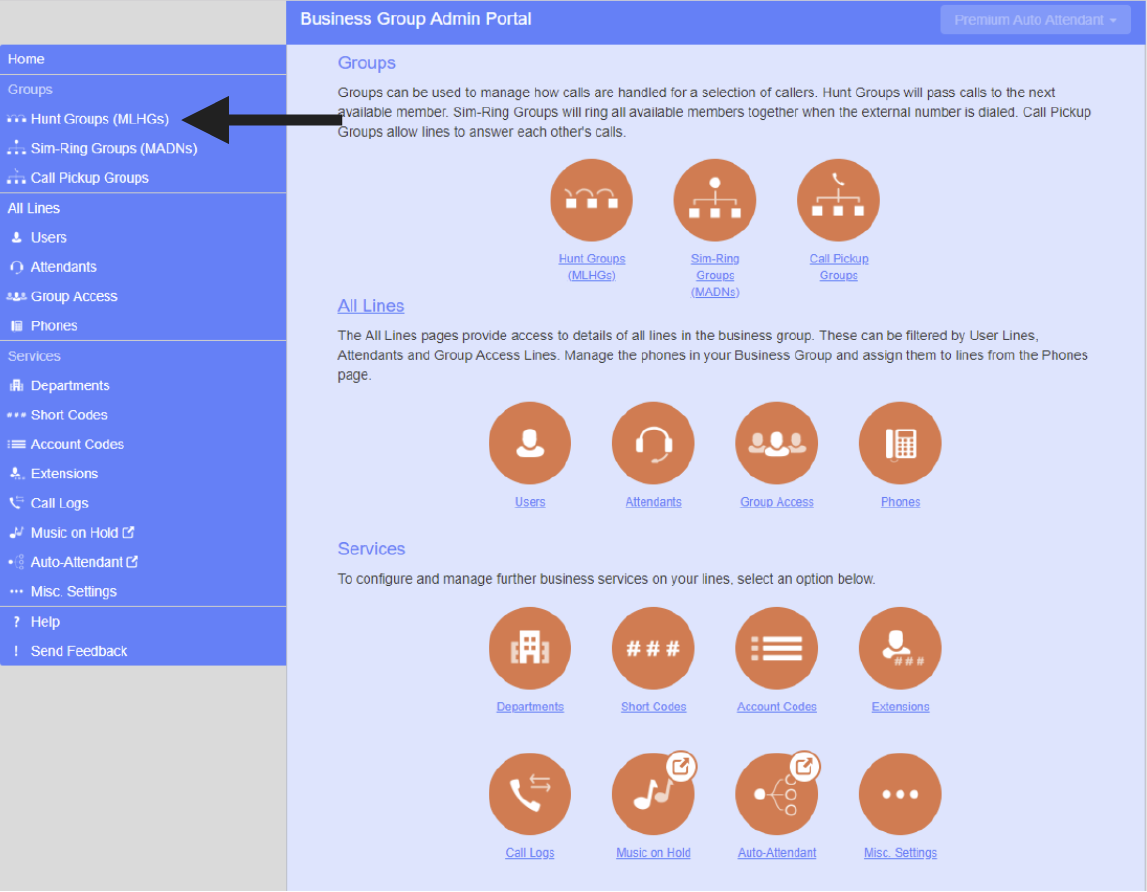
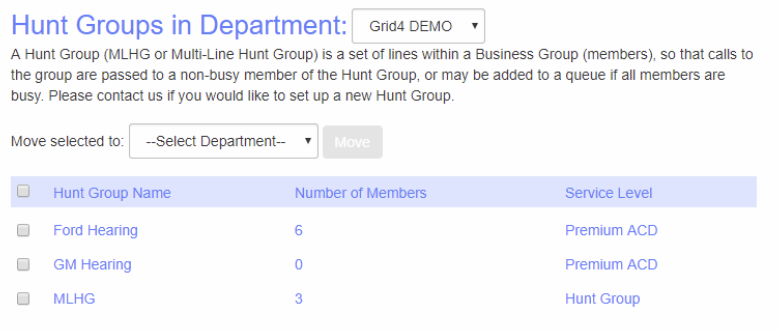
  2. Click MLHGs in the column on the left hand side or the orange circle under “Groups”.

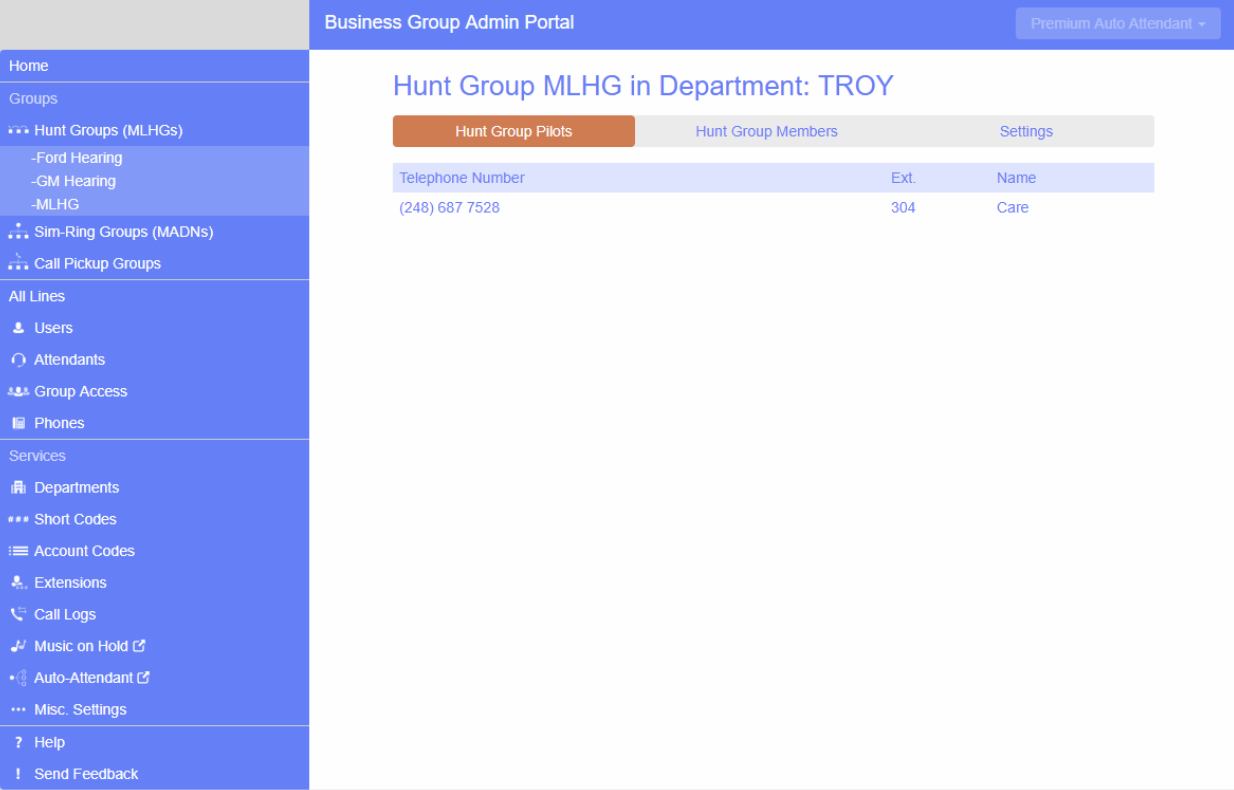
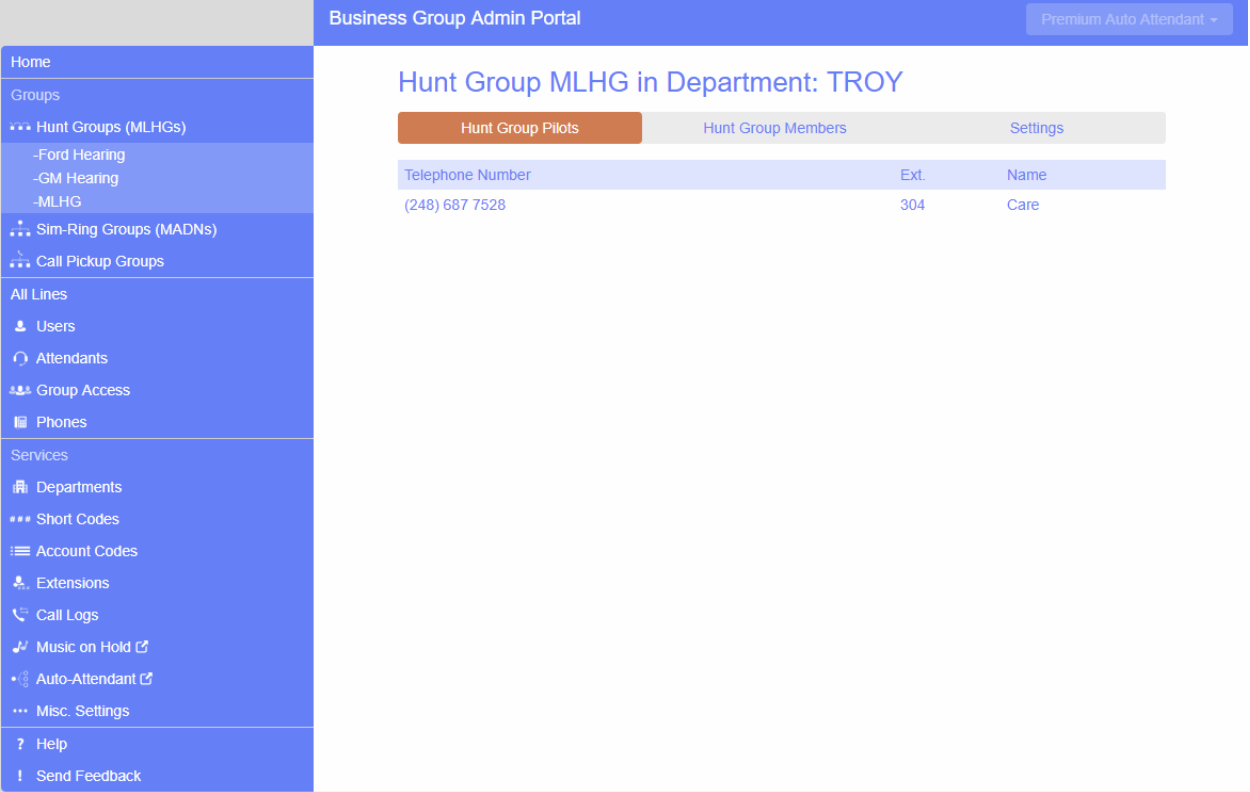
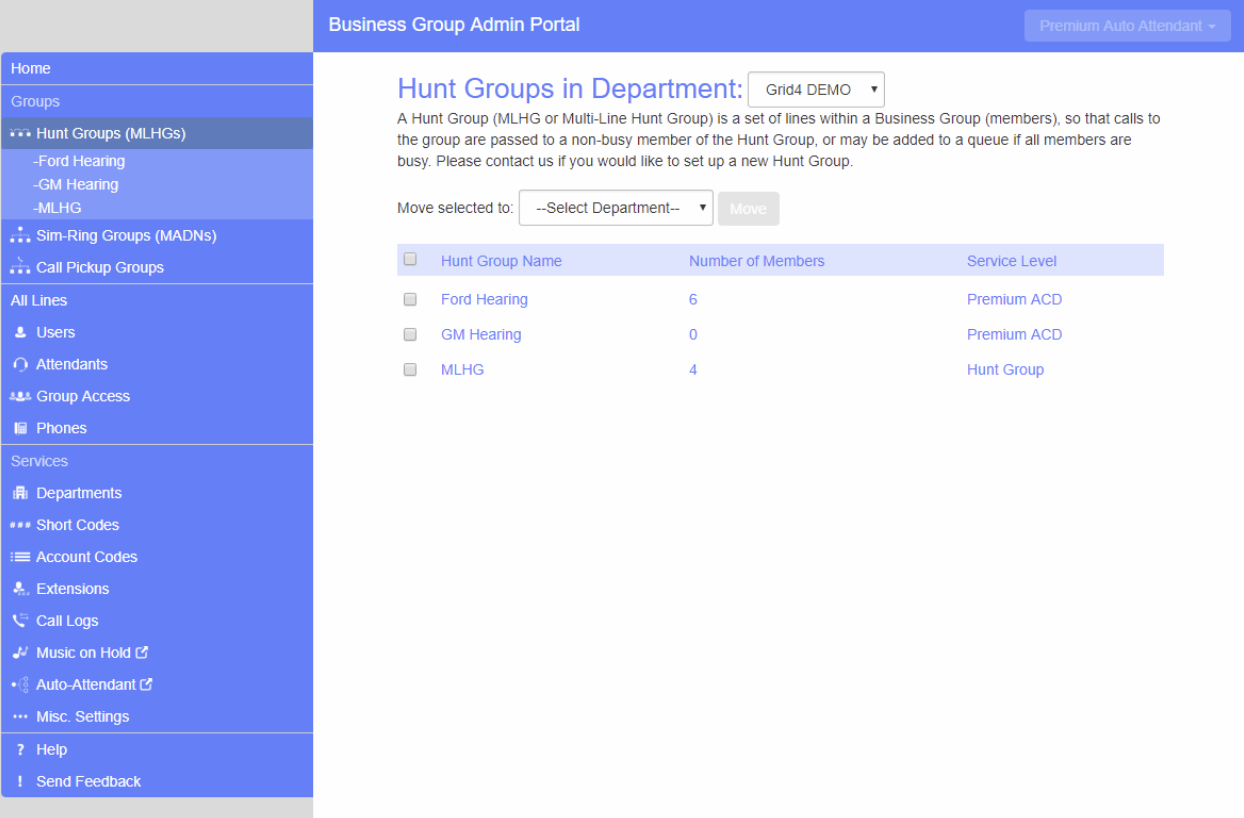
Click on the Hunt Group Name

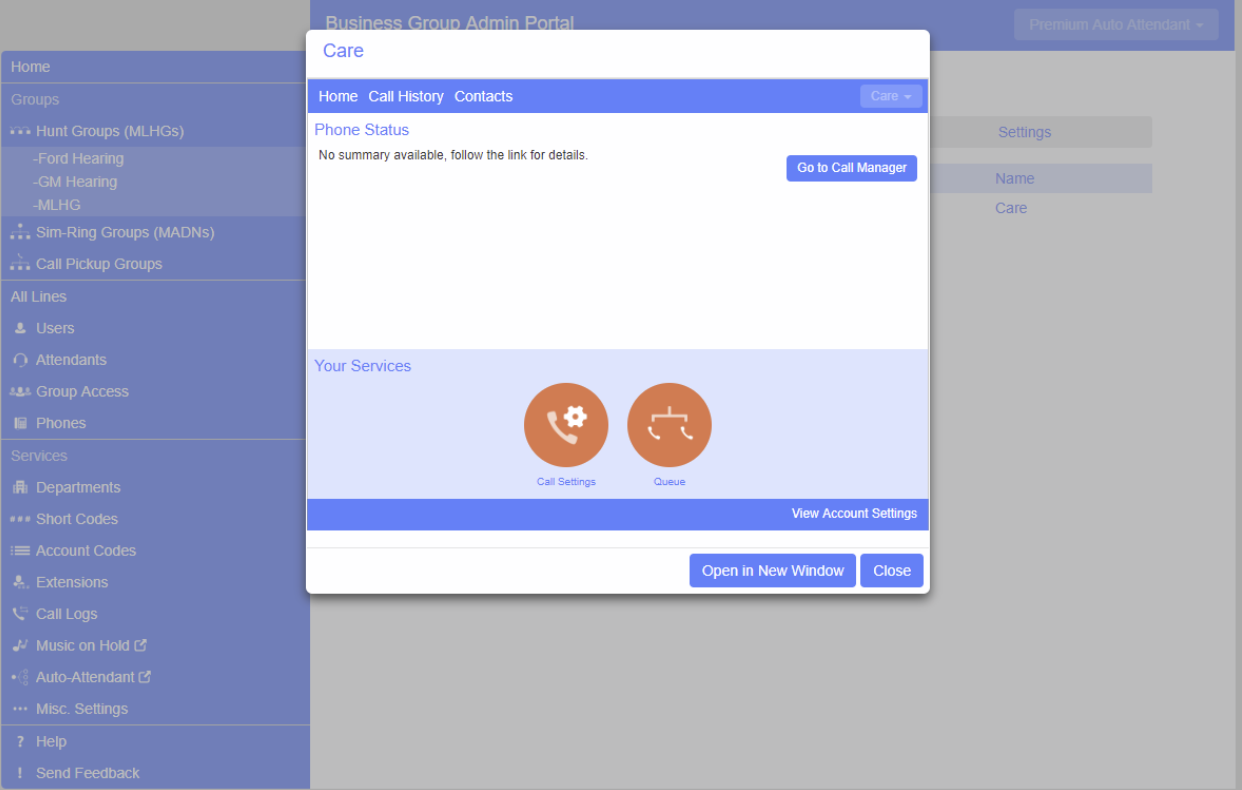
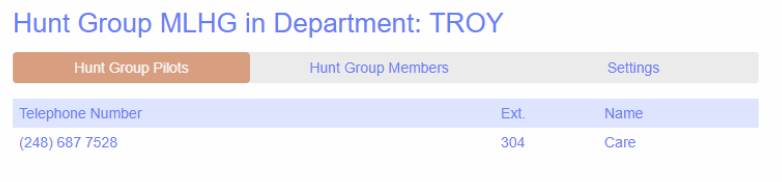
You will see the Pilot Number.  For new Hunt Groups Grid4 Communications must build a Pilot Number before any members can be added.

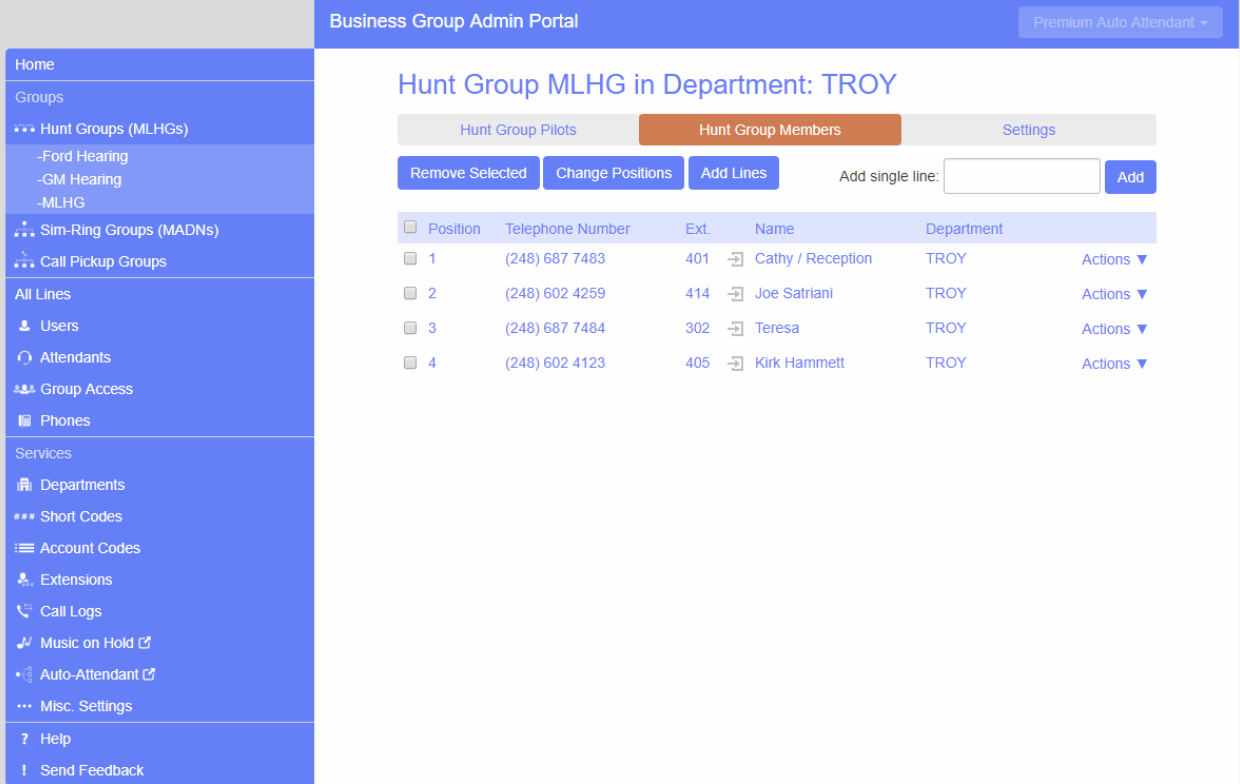
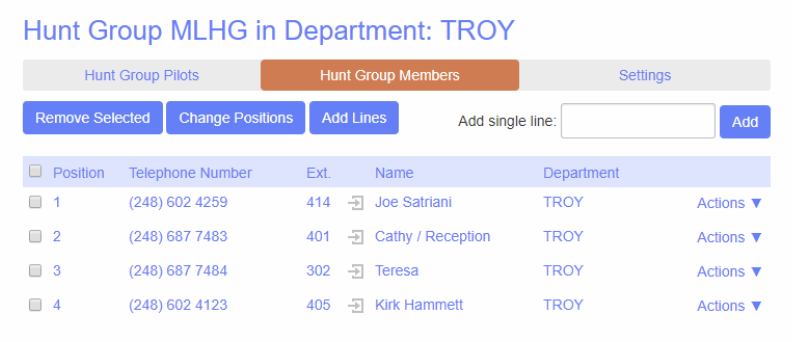
Click on “Hunt Group Members” to see who is part of the MLHG

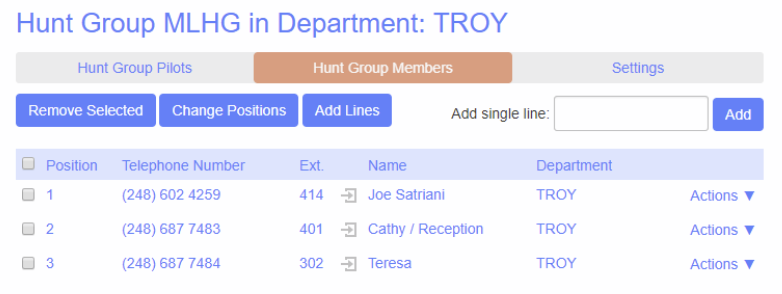
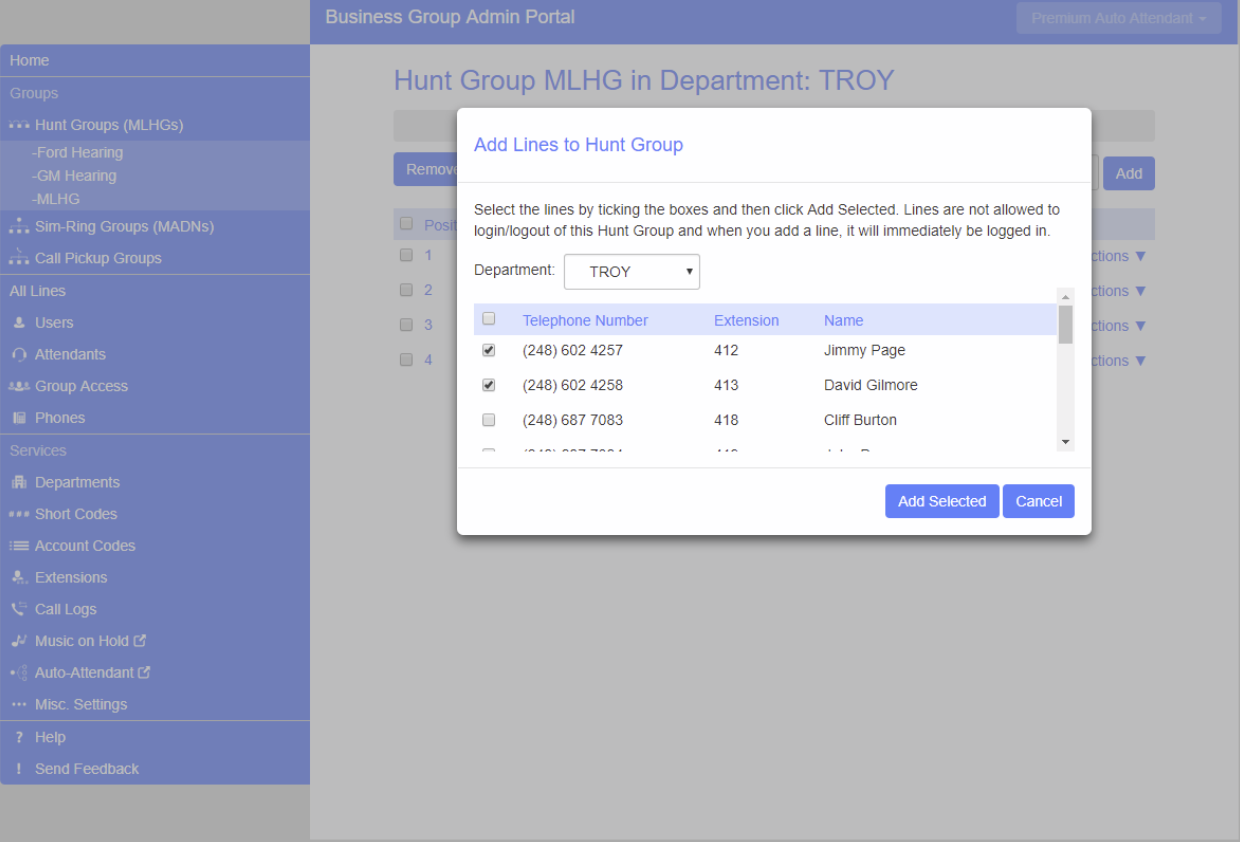
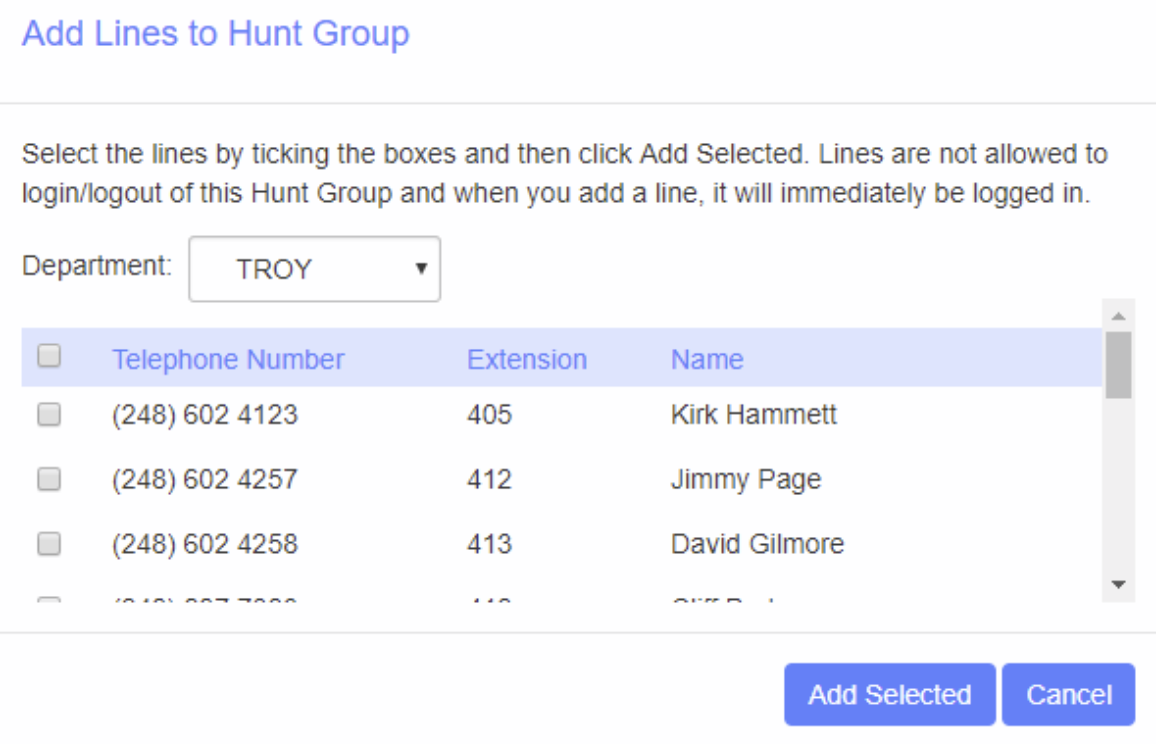
You may add and delete members as needed.  Click on “Add Lines”. Click the box next to the name you want to add and click “Add Selected”.  You may only add members that are already in your Business Group.

In the “Settings” section you will see “Preferences”.  You may choose to have your members login / logout by default or not.  You may also change the name of the Hunt Group by clicking in the “Hunt Group Name” field, changing the name and click “Apply”

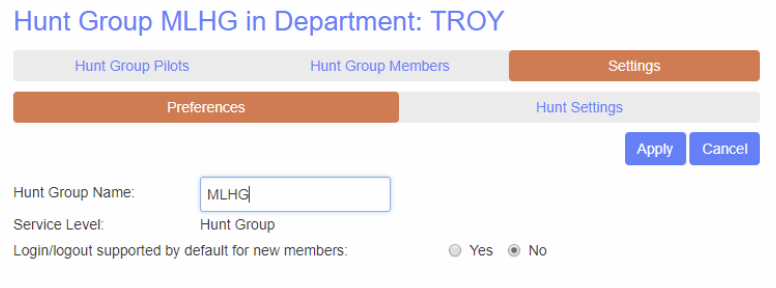
In the ‘Hunt Settings” section you can choose how you want your Hunt Group to flow.

Linear: If the Pilot Directory number is called hunting always starts with the 1st member and continues through the list until a non-busy line is found.

Circular: If the Pilot Directory number is called it is the same as Linear (above)

Uniform (Round Robin): If the Pilot Directory number is called hunting starts with the 1st number after the line that was selected by the previous hunt.  When the end of the list is reached hunting continues from the beginning of the list until it reaches the number is started with.

Uniform (Longest Idle): If the Pilot Directory number is called hunting starts with the member that has been idle the longest.

Ring All:  When the Pilot Directory number is called ALL members of the hunt group ring at the same time until a member answers.  The order of the hunt group has no effect.

You may change the distribution algorithm at any time by clicking on “Settings”, then “Hunt Settings”, then the option you are going to use.  If you choose anything other than “Ring All” you will see numbers next to the member name. You can move the order by clicking on “Change Positions” and move them the member up or down one position at a time using the up/down arrows.  Click “Apply” to save your changes.