Configuring Schedule
Configuring Schedule
1. Learn how to Log into Auto Attendant here.
2. You may select to have different announcements play automatically depending on the time of the day or the day of the week. Configure your weekly schedule by clicking on the Schedule tab:
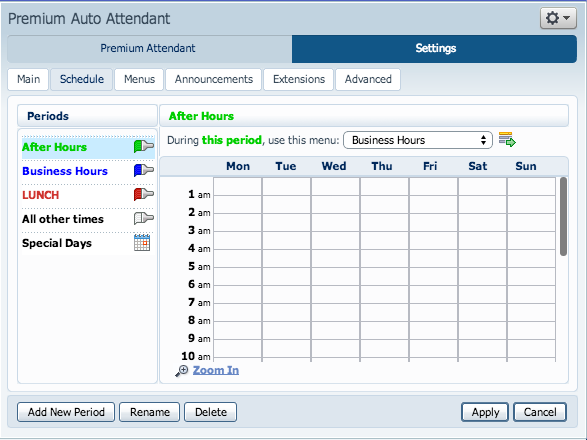
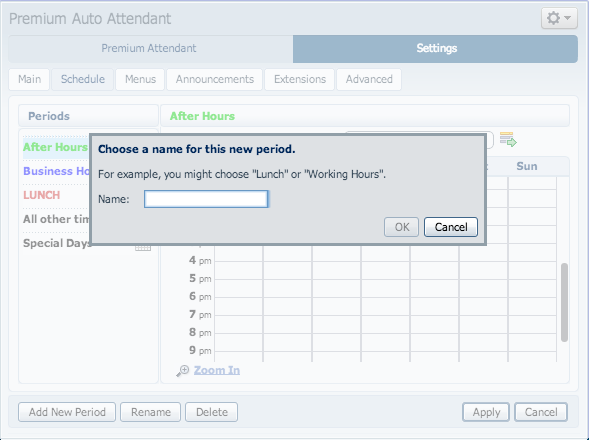
3. Once in the Schedule screen, click Add New Period in the bottom left hand corner to create a time of the day.
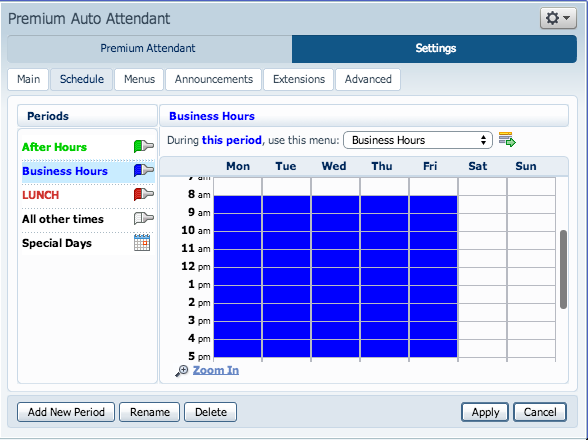
4. Click on the newly created period, (in our example, Business Hours) then click in the calendar and while holding down the left mouse button drag the mouse across the calendar to indicate the business hours. In the example below, the Business Hours are Monday – Friday from 8:00 am until 5:00 PM. Any other time are considered non-working hours.
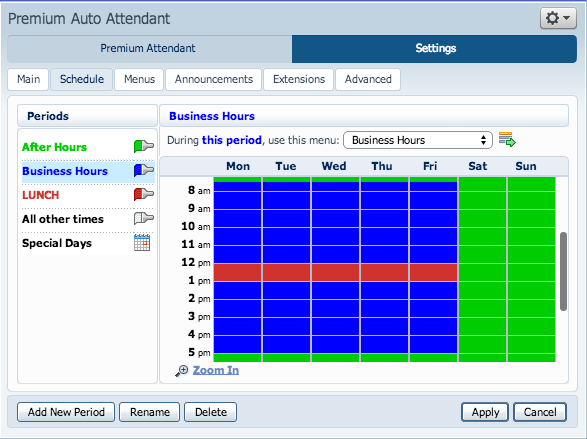
5. You may repeat these steps for non-business hours, weekends, lunch, etc.
You may choose to have a different auto attendant for Holidays.
1. Click on Special Days in the left column titled “Periods”
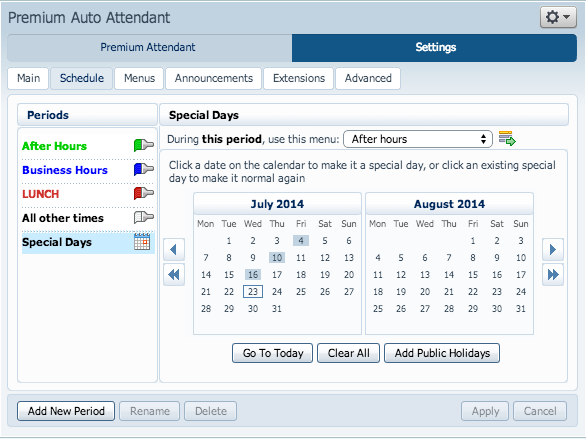
2. You can choose individual days or choose the Add Public Holidays option to automatically add public holidays for your region.