Configuring Menus
Configuring Menus
- Click here for How To: Log into Auto Attendant
- After Configuring Your Schedule, next you will need to set up your Premium Attendant Menu options. Click the Menus tab.
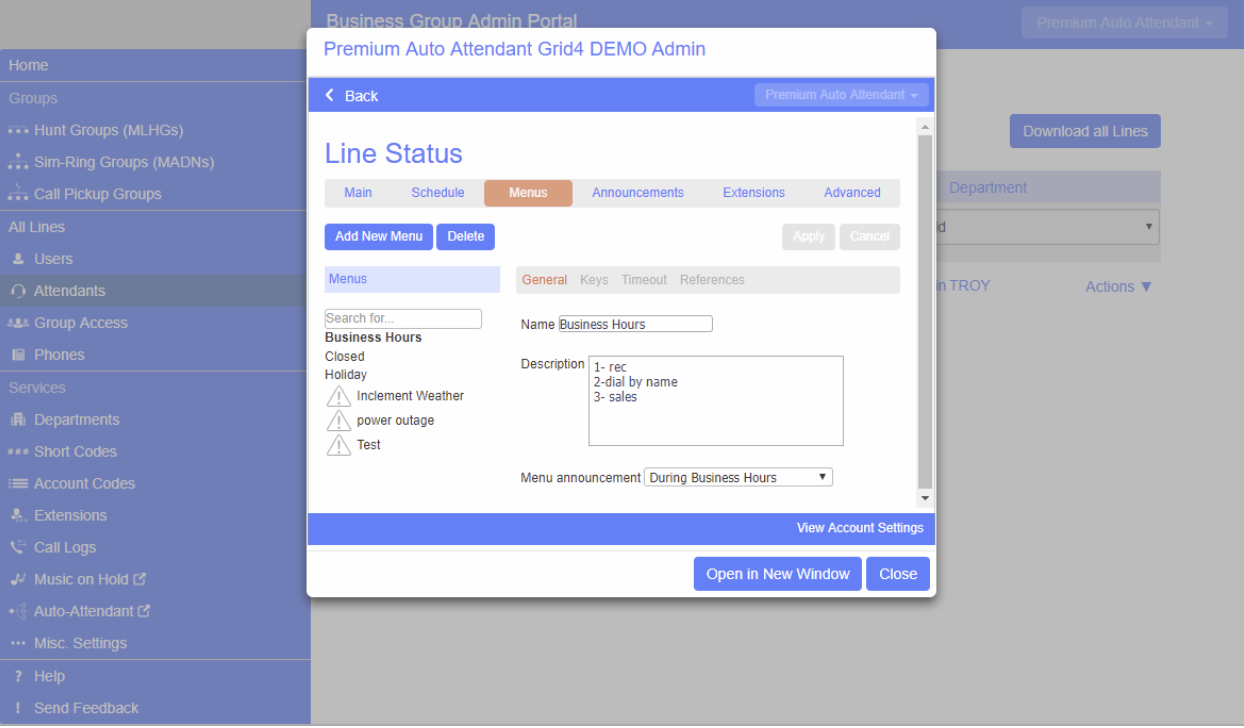
- For each Period you have created in your Schedule, there should be a corresponding menu. To begin, click Add New Menu:
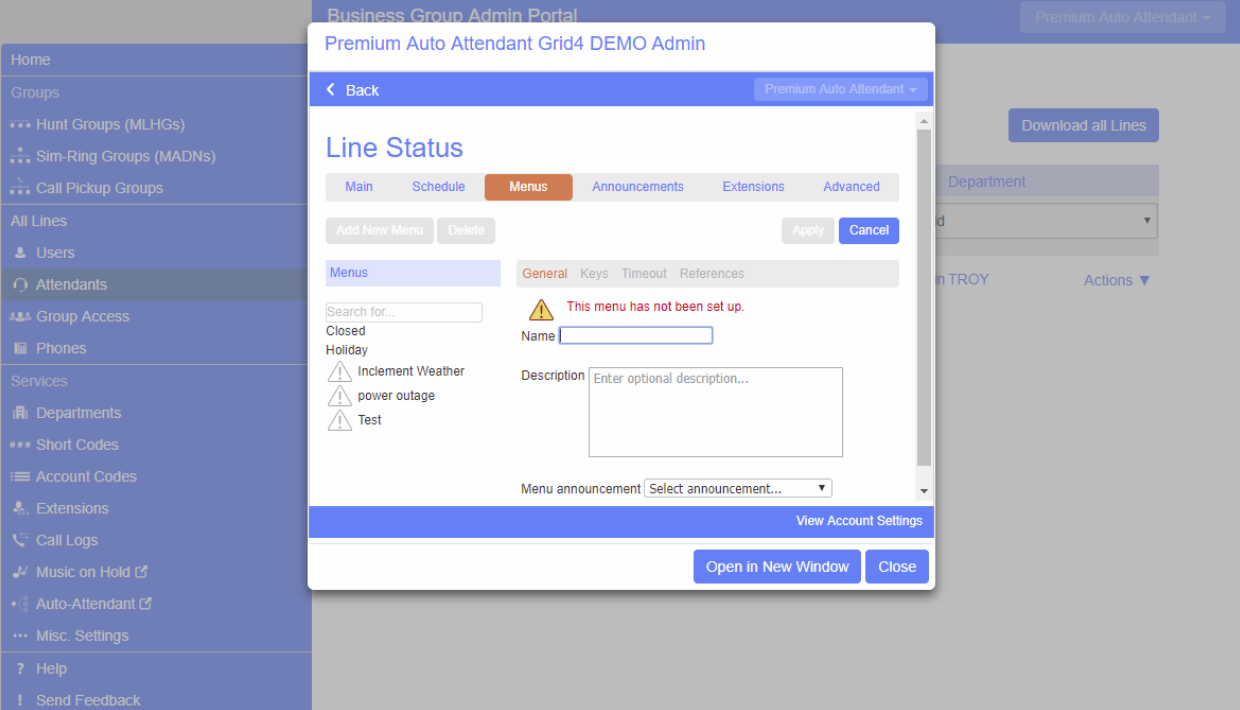
Begin to configure your menu by providing a name and description.
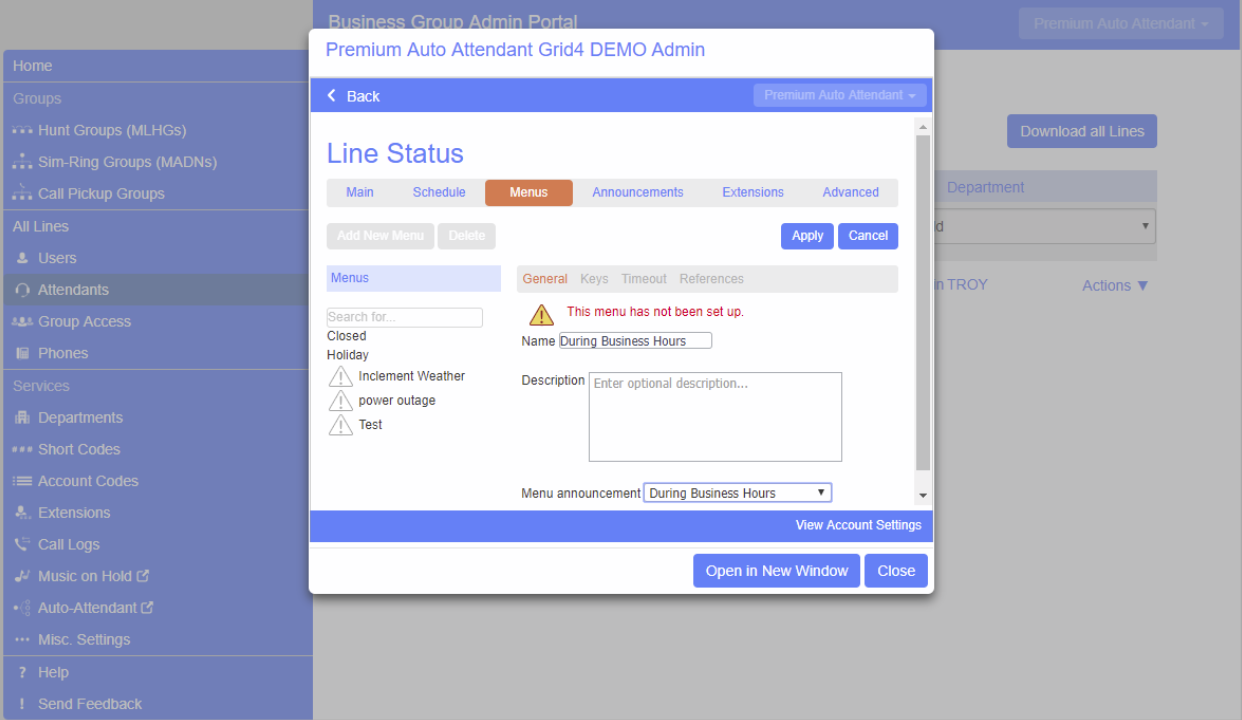
- Enter a name and a description for reference.
- Select Create New Announcement under the Menu announcement drop down menu. Click “Apply”
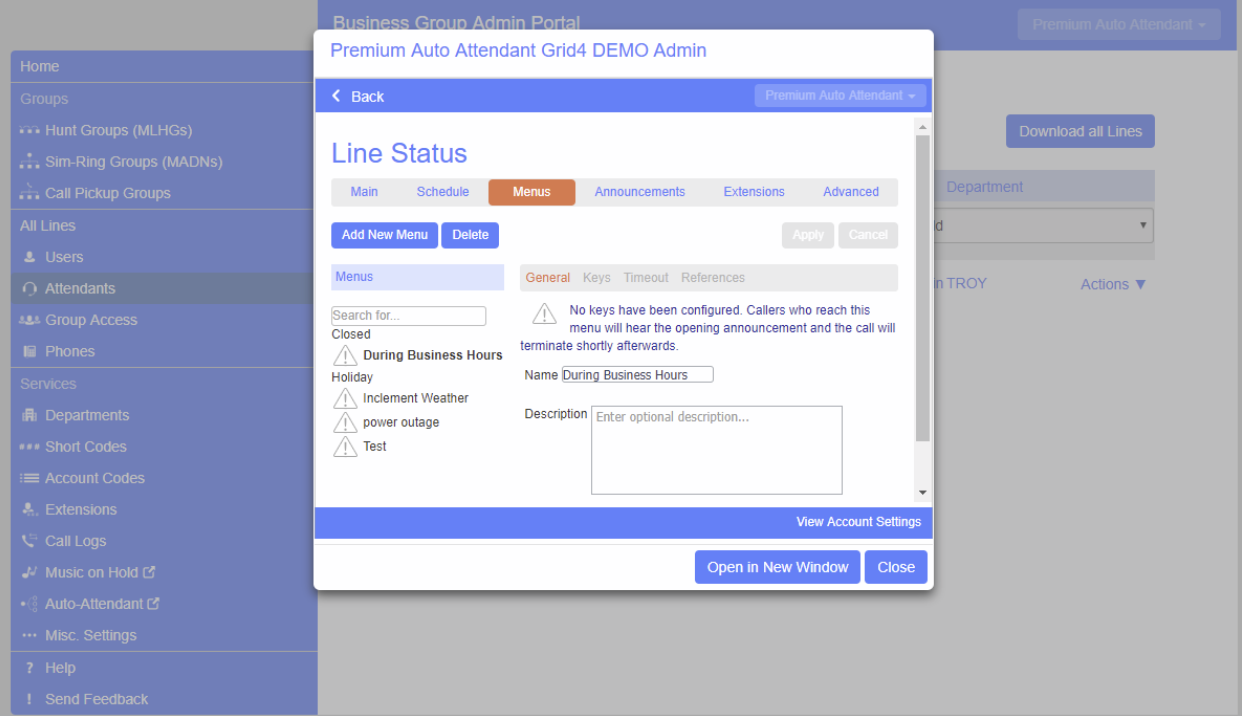
Select the Keys link to configure the key presses. Select an option using drop down menus for each key. Click “Apply”.
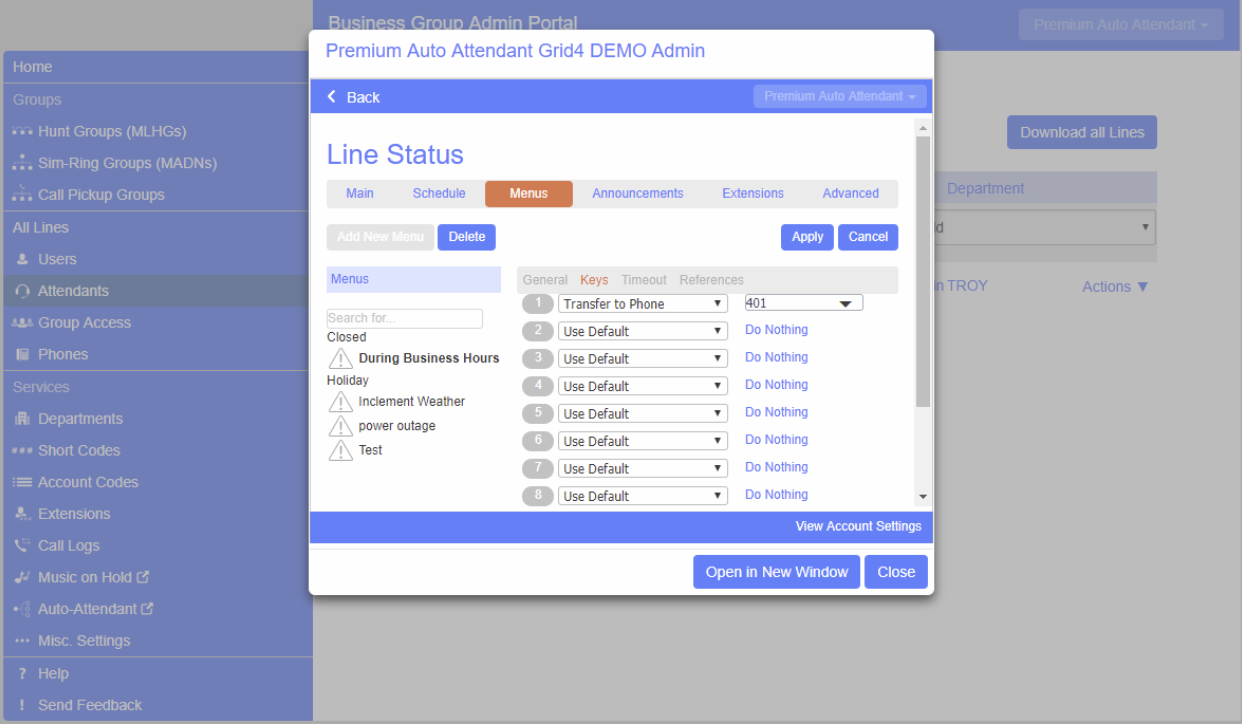
Choose from the following options:
- Use Default (This option is default for all keys for new menus)
• Transfer to Phone
• Transfer to Voicemail
• Dial by Extension
• Dial by Name
• Voicemail by Extension
• Voicemail by Name
• Transfer to Operator
• Intercept Mailbox
• Go to Menu
• Return to Previous Menu
• Replay Menu
• Announcement – Return
• Announcement – Hang up
• Hang up
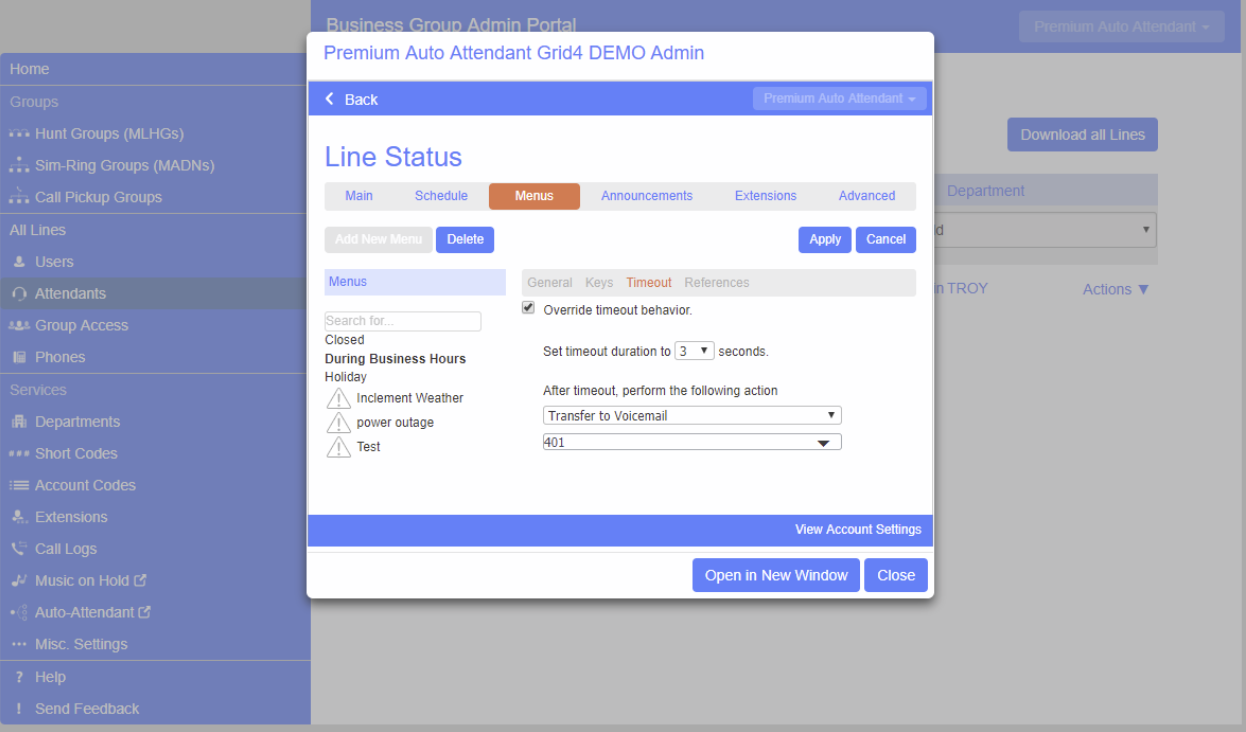
Configure the timeout option if desired. If a caller does not choose an option, the system will perform the chosen action. Enter the timeout duration and select an action from the drop down menu. Click “Apply”.
If no “Timeout” key is configured the default is to have the Announcement and Menu repeat 2 times, then the system will hang up.
Repeat these steps to create multiple Menus.