Activating Premium Attendant
Activating Premium Attendant
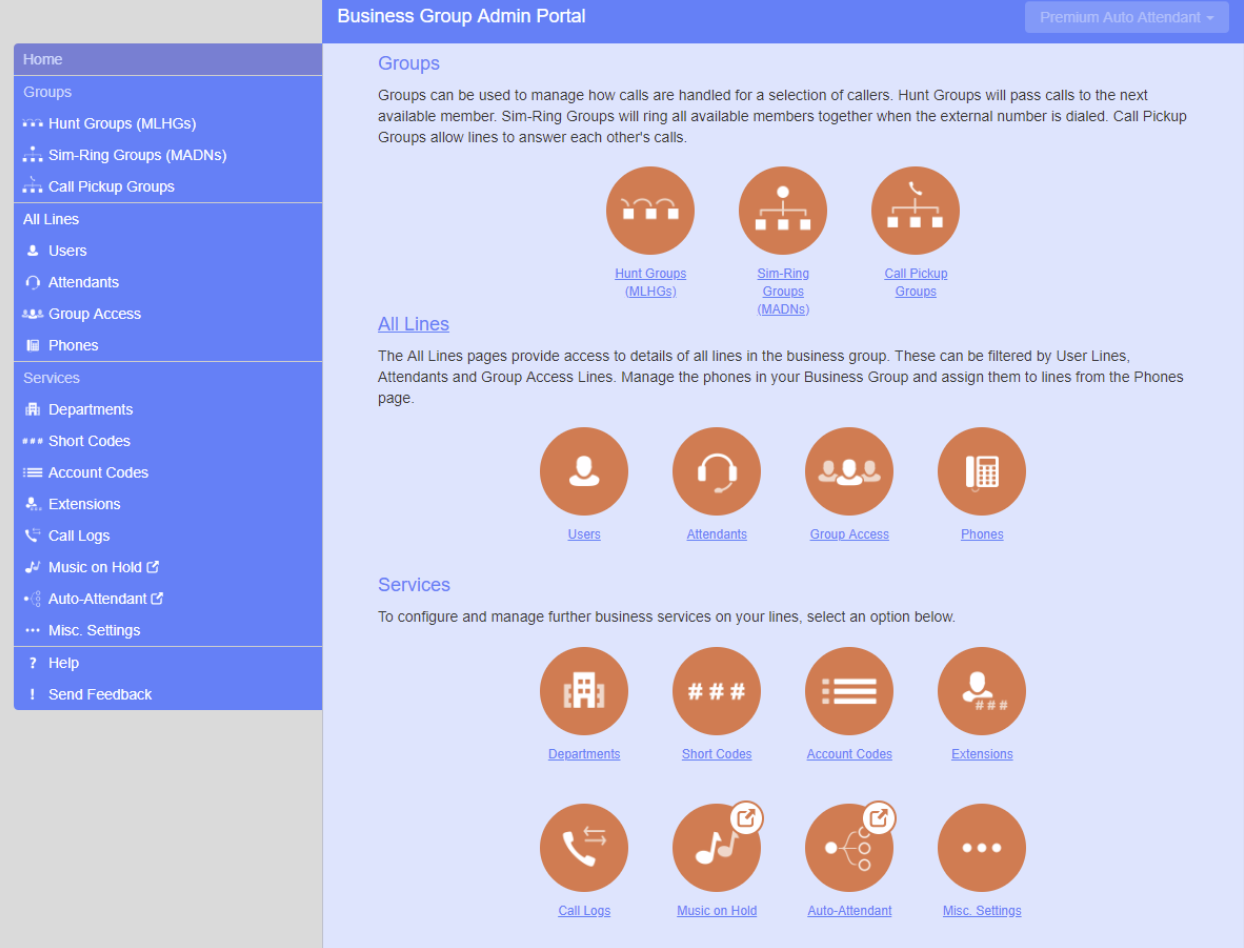
Learn how to access your Premium Auto Attendant here
Finally, after Configuring your Schedule, Configuring your Menus, Configuring your Announcements, Configuring your Extensions, Configuring Advanced options, and Assigning Menus to your Schedule you will need to activate your Premium Attendant.
Click on “Attendants” using the link on the panel on the left or the orange circle under “All Lines”
Click on the “Actions” key
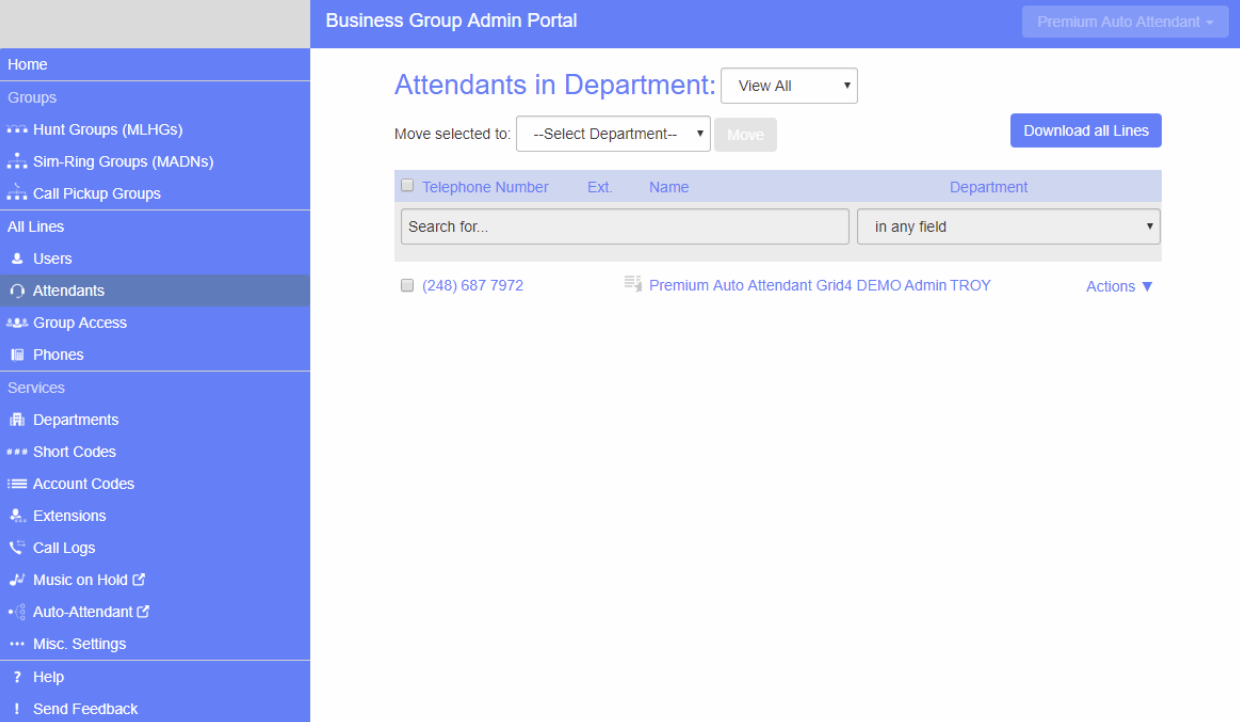
Then click on “View Attendant Settings”

- All Menus, periods, and announcements must be linked together before the premium attendant can be turned on.
- The Main tab has a Service Status panel that states your current schedule period and the menu that callers will hear. It also reports if you have errors in any menus, or one or more announcements is missing audio.
- The Schedule and Menus pages use a banner line to report any errors.
- The following icons are used to indicate incorrect or incomplete configuration
• error icon
• warning icon
If there are any errors in your configuration, you will be warned against turning on Premium Attendant, and in some cases this will be prohibited.
Click “Turn On”
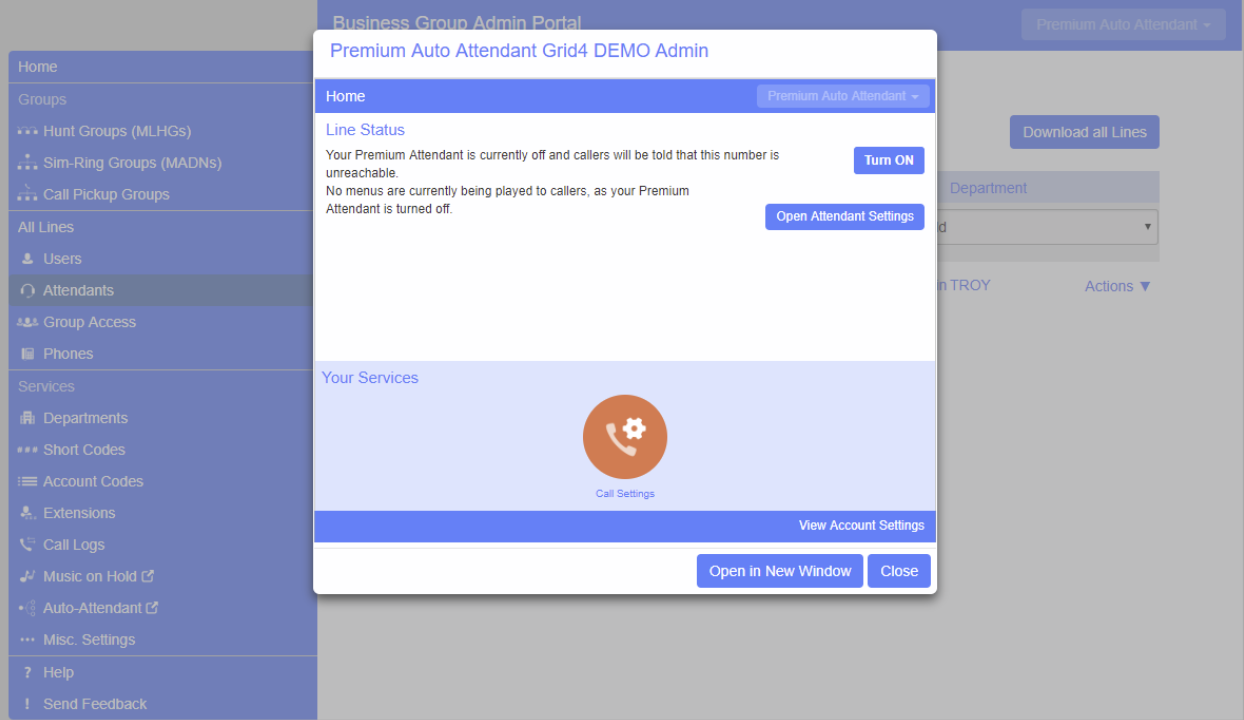
The picture below demonstrates when the Premium Attendant is on and all configurations are accepted.
